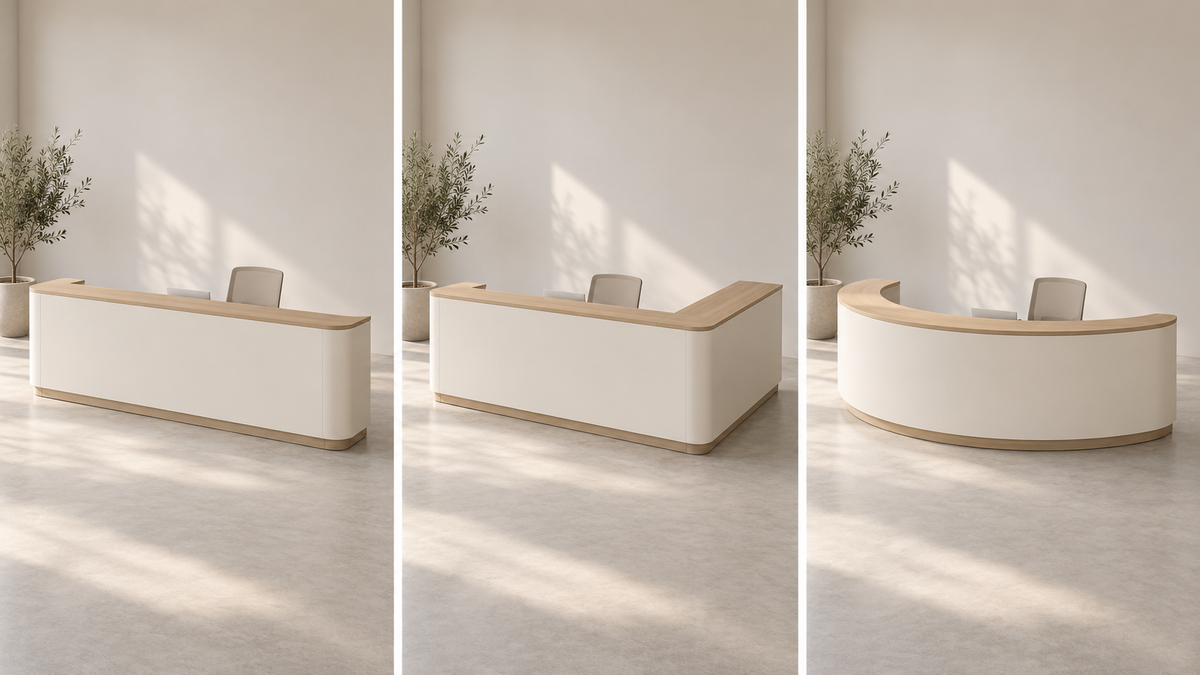
A reception desk layout is easier to assess when it shows what happens behind the front panel: where someone sits, where equipment opens, where supplies are reached and how staff get in and out. A front-view rendering leaves most of those questions unanswered.
Start with one ordinary sequence of work: greet a visitor, use the computer, pass over a document, collect a printout and return to the seat. Plot those actions before filling the interior with cupboards. The aim is a layout that supports the work you actually do.
What should you put on the layout first?
Record how many people use the desk at the same time, whether they sit or stand, and which equipment stays there. Then identify four parts of the working side:
| Part of the layout | Mark on the drawing | Check in use |
|---|---|---|
| Main work position | Chair, keyboard, mouse and display in their intended positions. | Can the user sit, work, turn and leave without meeting a drawer unit or stored item? |
| Visitor handover | The place for documents, visitor passes or a signing device. | Can both people use that area while the computer and telephone remain in place? |
| Equipment and storage | Actual equipment outlines, opening paths and the supplies stored nearby. | Can staff operate, refill and remove the equipment? |
| Entry and connections | Staff entrance, chair movement, cable route and access points. | Do open drawers, doors or cables interrupt the route? |
These are planning areas, not four compulsory cabinet modules. A compact greeting station may need very little storage; a desk used for administration all day will need a different arrangement.
How do you check equipment beyond its closed dimensions?
For each device, record three things: its physical size, the space it needs while operating, and how it will be connected and maintained. Use the exact model's instructions. A label such as “desktop printer” does not define a usable cabinet opening.
For example, suppose a printer body is 360 mm wide, 340 mm deep and 220 mm high, while the proposed compartment is 400 × 380 × 260 mm internally. Those figures suggest the closed body fits. They do not establish whether the cover can rise, the paper can exit, the tray can be pulled out or the plugs can connect. These are hypothetical dimensions for explaining the check, not a cabinet-size recommendation.

Epson's setup instructions for its ET-1810/L1270/L1250 series, for example, call for room to raise the cover and eject paper, and say not to cover the vents. Check your selected printer rather than transferring another model's dimensions.
For a display on a clamp-mounted arm, also confirm the mounting location and the available space around and beneath it. Ergotron's LX attachment guide shows different attachment arrangements and their fitting conditions. Have the furniture maker review the selected mount and proposed desk construction together before fixing that detail.
Where should storage go without taking over the work area?
Group contents by how they are used. Put items handled during each visitor interaction near the working position; reserve other locations for occasional supplies. List what each drawer or shelf must hold before deciding how many to add.
Then review the furniture with moving parts open. A drawer can be convenient when closed and obstruct the chair or staff entrance when extended. A cabinet door may open into a colleague's position. Ask for opening paths on the plan, rather than judging the storage only from a closed elevation.
Try this simple check: mark the proposed worktop, drawer fronts and entrance with tape in an available space. Place the actual chair and representative equipment, then rehearse the visitor sequence. This can reveal a misplaced storage unit before you need a physical furniture sample. Use our sample planning guide if a particular detail still needs a closer review.
How do cables stay hidden and accessible?
Trace one complete route from each device to its connection point: display and telephone on the surface, cable opening through the desk, cable channel beneath it, then the building connection. Mark where excess cable and power adapters will sit. A hole in the worktop alone does not explain that route.
Check access as well as appearance. Can someone reach a connector, replace an adapter or remove a device without taking apart fixed furniture? Will a drawer cross the cable route? If a display arm moves, can the cable follow its intended movement?
Ask the furniture maker and the project's electrical or IT team to identify their respective connection points on the same drawing. Choose opening sizes from the actual connectors and proposed fittings. If equipment is not selected yet, record that decision as open instead of treating a guessed opening as confirmed.
How would the layout change in three common situations?
These are hypothetical planning situations, not completed project case studies.
One receptionist handles computer work throughout the day.
Start with the chair, keyboard, display and document handover area. Place frequent-use storage around that position, then find a printer location that can be operated without occupying the knee space. Test a visitor interaction with the screen and telephone in place; an empty worktop gives an incomplete picture.
Two staff members share the desk during busy periods.
Draw both work positions occupied at once. Show what happens when one person opens a drawer and the other collects a printout or leaves. Place shared equipment where access can be checked for both users. A longer front panel alone does not establish two workable stations.
The desk is mainly a greeting and visitor-pass point.
Begin with the handover task, the device used to register visitors and the small stock of passes. Ask whether a fixed workstation or extensive storage is needed at all. Keep the entrance and exchange area clear, and add functions only when the intended work calls for them.
What can you send the designer or furniture maker?
Copy and complete this brief. Add model sheets or photographs for equipment already chosen, and mark unselected items as “to confirm.”
Users and tasks: [people present at the same time]; [seated / standing / mixed use]; [main visitor and administration tasks].
Equipment: [model, body dimensions and manual]; [opening or operating space]; [mounting and connection method].
Storage: [contents and frequency of use]; [items needing restricted access]; [items kept elsewhere].
Movement and handover: [staff entry side]; [chair arrangement]; [visitor exchange point]; [shared equipment access].
Connections: [available building power/data locations]; [proposed cable route]; [access needed for replacement].
Please return: a staff-side plan and elevation showing the work position, usable internal storage dimensions, equipment, opening paths and cable access. Identify decisions still open.
Use those drawings to replay an ordinary working sequence. Any collision or missing connection becomes a specific question to resolve. Share your working-side requirements with SORVENO when you are ready to discuss the furniture layout.
Image note: the cover is an AI-generated planning illustration, not a completed client project or a dimensional reference. The equipment diagram explains a planning principle; actual equipment and furniture details must be checked together.